|
|
|
 |
Mehari restauratie : weg met dat ijzer |
 |
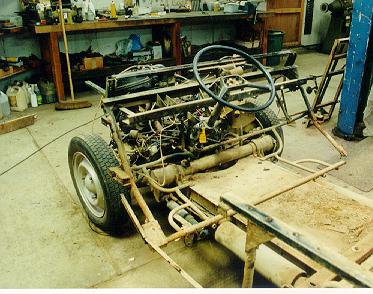
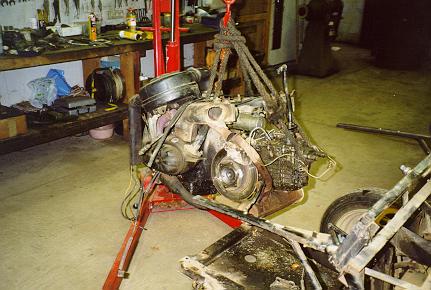
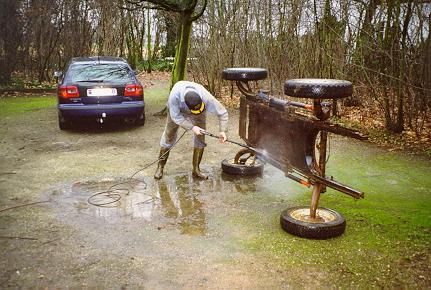
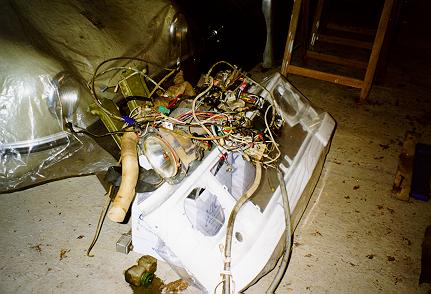
Now it's getting fun ! Removing the frame is really easy. Repairing it is another story...
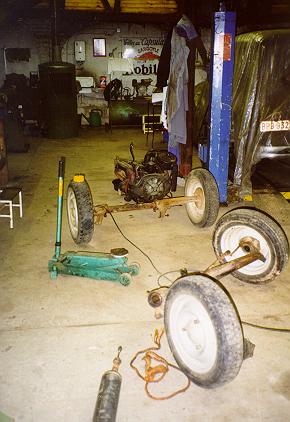
No comment needed. All plastic has been removed. Only the chasis is left : 4 tubular frames (2 big ones and some smaller stuff), the engine, gearbox and axels are left. Everything looked pretty well. The big rear frame and the middle frame needed some minor repair but they could both be safed... On the background (under the plastic) you can see my father's Minerva.
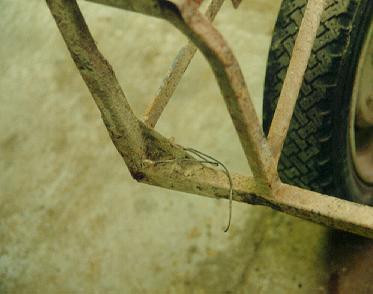
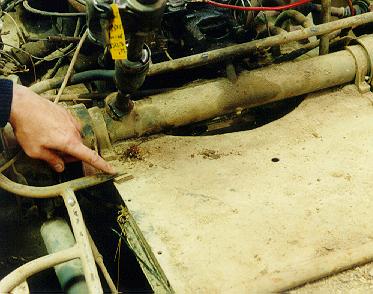
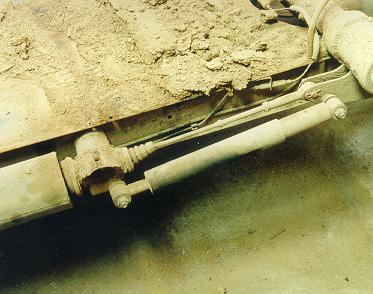
This explains the hole in the body (above the wheel). The car has been in some minor accident, causing the slightly bent frame. The wheel has been scraping through the body.
The previous owner seemed to have done some rescue job by welding a metal strip on th frame but it was to late...
First the backframe
- Better remove the fuel tank. If you remove the filling pipe only this will work too
- Remove all wiring from fuel level gauge and rear lights (make a little drawing about how they cables were fixed to the frame)
- Remove every screw on the frame
- And just take it off
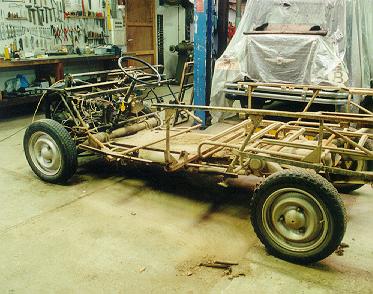
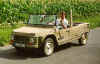
I deserved a break here. Time for a good sigar and see what I'll do next... Anyone knows the car on the background ? It's a Peugeot 204. We should sell it since it takes too much place.
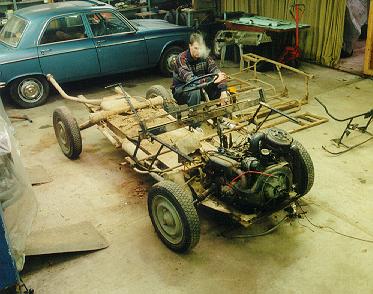
Removing the engine (only 20 minutes of work)
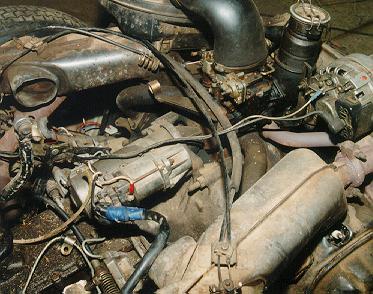
I always make a lot of picture before removing anything. Just a habit so I can find back what belongs where... They might be useful for you too, so here they are..
Details of the disk brakes
(the older models have drum brakes)
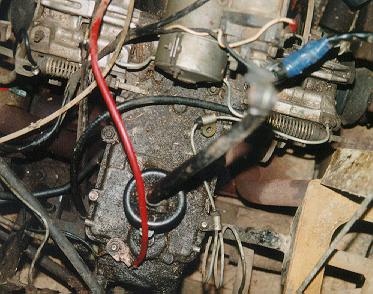
Starter and alternator cabling
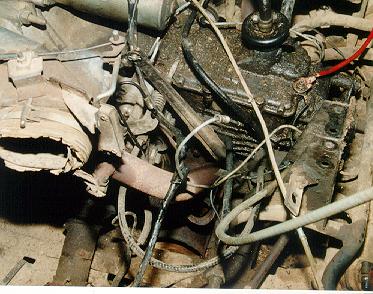
Parking brake lever and cabling
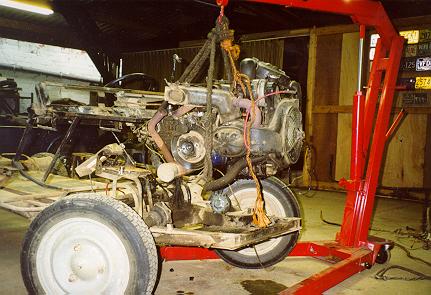
And now it can come out...
I took it out together with the gearbox. Only 4 bolts to remove...
- Remove all cabling : start engine, ground cable, alternator connection...till you get the hole cable three in you hand. Putting a label on every wire won't hurt but I was optimistic and didn't mark them.
- Don't forget to remove the parking brake cables (I forgot them you see...) !!
- Remove the fuel pipe from the fuel pump and make a little drawing on how it goes through the chassis
- Remove the clutch cable
- Remove the speedometer cable at the gear box
- The front exhoust muffler can stay. Remove everything behind it
- Remove the big cardan-nuts at the wheel side first (remove the wheel first). Usually it's not so easy since they're stuck and it' hard to block the wheel when there's no weight on it. One of them didn't came off, so I just unscrewed it at the the gearbox side. It's easy if you remove them completely but not mandatory.
- Remove the accelerator cable and choke cable
- Unscrew and remove the 2 front engine bolts (under the chassis).
- Unscrew the 2 smaller rear gearbox bolts. You just unscrew them, no need to remove them
- Well, you can take your engine out now. Do this nice and slowly so you can always check if you forgot something
The first meter... Oops, I forgot the fuel pipe There it is There's only the dashboard frame and the small one in front left. But lets do some cleaning first...
As you can see, I removed the fuel tank at the end and not when I removed the back frame. Make it easy on yourself.
And let's clean up the getto. My god did this car gather some dirt ! Afterwards I removed the fuel tank
Now the dashboard frame
- Remove the handbrake lever to get an easier access to the bolts
- Remove all the frame bolts you find (one bolt is a little bit tricky)
- See that the steering column has been pulled back
- Just take it of now
- Be careful no to lose the 2 rubber silent blocks shown on the picture
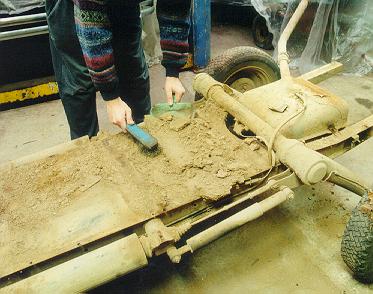
And now some more cleaning...
Even under the armpits...
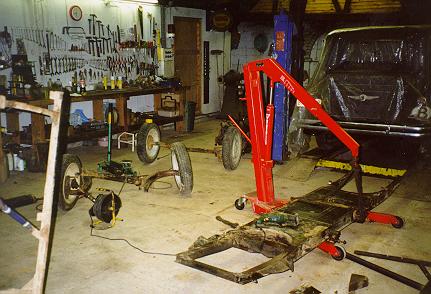
You want it all ? Well, just remove front and rear axles then...
|
This is a little bit more
complicated. You have to remove the suspension first. The shock absorbers are easy to
remove but then... Just mail me and I'll explain. I forgot to take pictures of the process (btw. Pictures taken BEFORE cleaning) |
Here they are afterwards... |
|
|
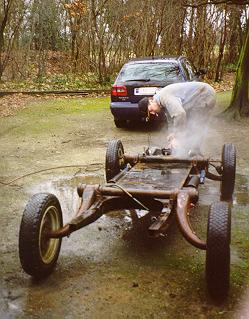
And this is what's left... It once was a Mehari, but it suddenly stopped being a car...
(notice my first welding job on the left) |
Look, the new nose arrived ! But men do I have another pile of junk in the garage... |
|